About
Smart Pointer is a next-generation presentation tool that provides various advanced functions with the same ease of use as traditional pointers. You can use it for live presentations in digital planetariums and immersive theaters. Expecially in planetariums, it is a revolutionary tool that allows you to freely use the large screen that spreads above you, and makes you re-recognize that it is a place to talk interactively with your audience.
* Smart Pointer is an optional function of the Amateras Server.
Product Leaflet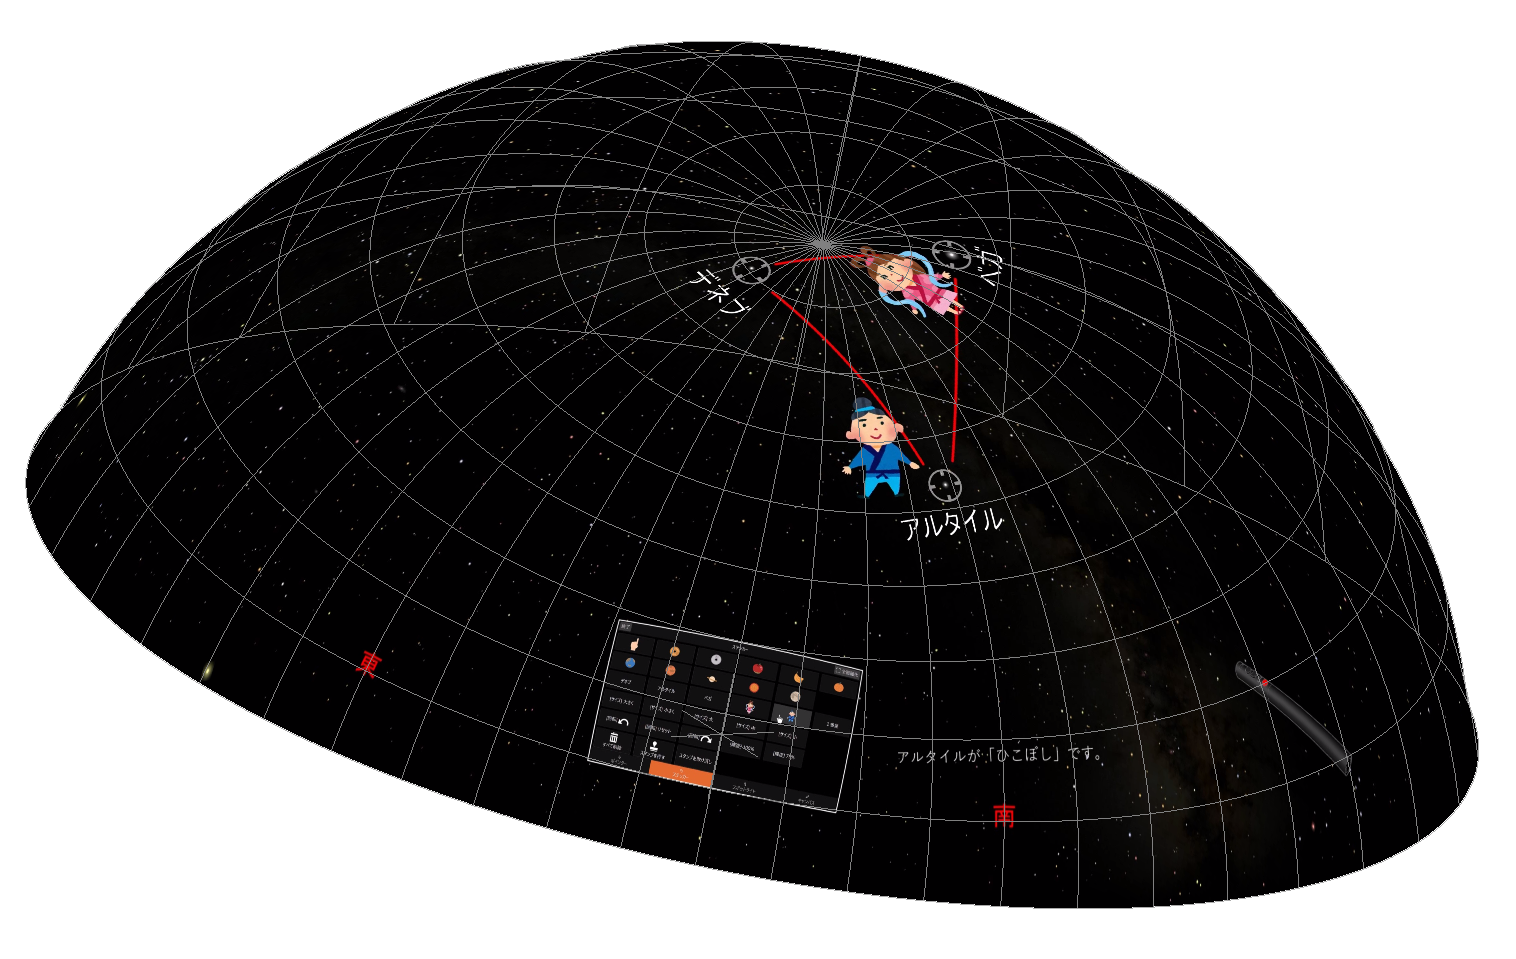
Features
Basic of Smart Pointer
Unlike traditional pointers that illuminate the screen with arrow-shaped light, the Smart Pointer draws an arrow as an image at the pointed position. This makes your operation easier, by providing constant focus and display size, image stabilization, and more.
IR Detection based Pointer
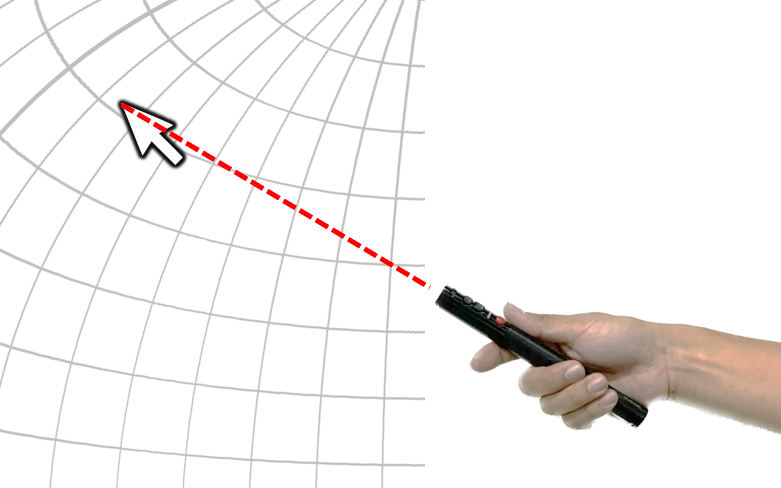
Instead of the traditional laser pointer, Smart Pointer is an infrared laser pointer that is invisible to the eye. Its invisible pointed place on the screen is detected by an infrared camera (60-200hz), and images such as arrows are drawn at that position.
Pros- Pointer shape close to the traditional pointer.
- Can be used from anywhere in the theater.
- The battery lasts a long time.
- About 1/5 of the dome theater becomes a blind spot.
- Careful handling of the laser pointer is necessary.
- Infrared light sources and emitters can cause malfunctions.
- Only single Smart Pointer can be used at once.
- Twisting rotation operation is not possible.
- It cannot be used with an LED screen.
VR Tracker based Pointer
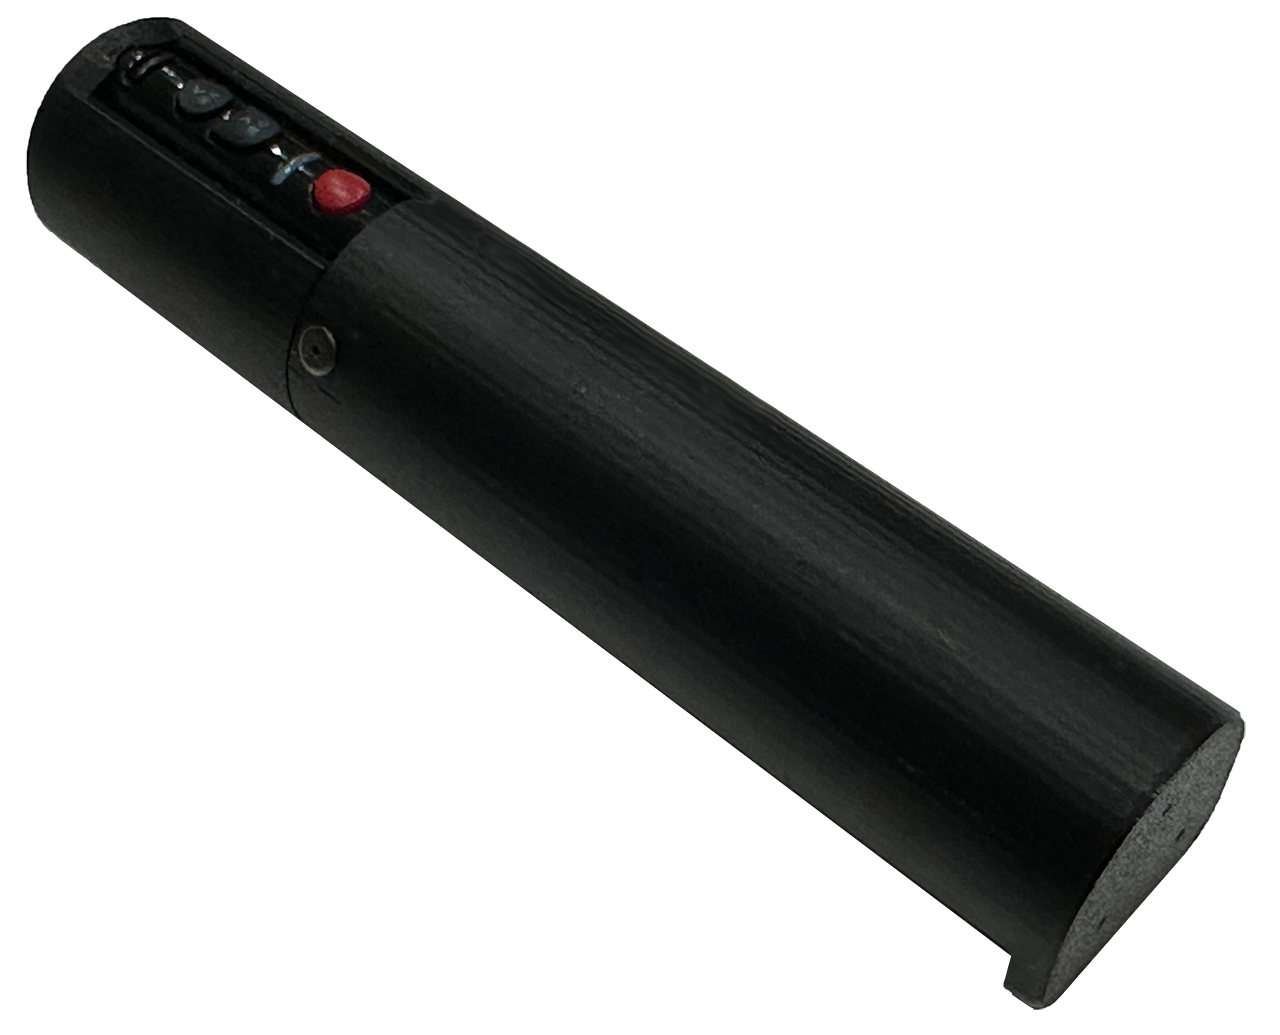
Using a VR Tracker, the position and direction of the Smart Pointer can be detected in real time (90hz). Based on this data images such as arrows are drawn at that position at pointed position.
Pros- It can be used regardless of the distance to the screen.
- Multiple pointers can be used at the same time.
- Less influence from infrared light sources and emitters.
- Twisting rotation operation is possible.
- It can also be used on LED screens.
- It is not obstructed by objects like optical projectors nor audience.
- It can be used at any time without turning the detection on and off.
- The shape of the pointer is a bit unique.
- It can only be used near the console (VR Base Stations).
- May interfere with infrared and reflective surfaces.
- Needs to be charged every day (charging status is always displayed).
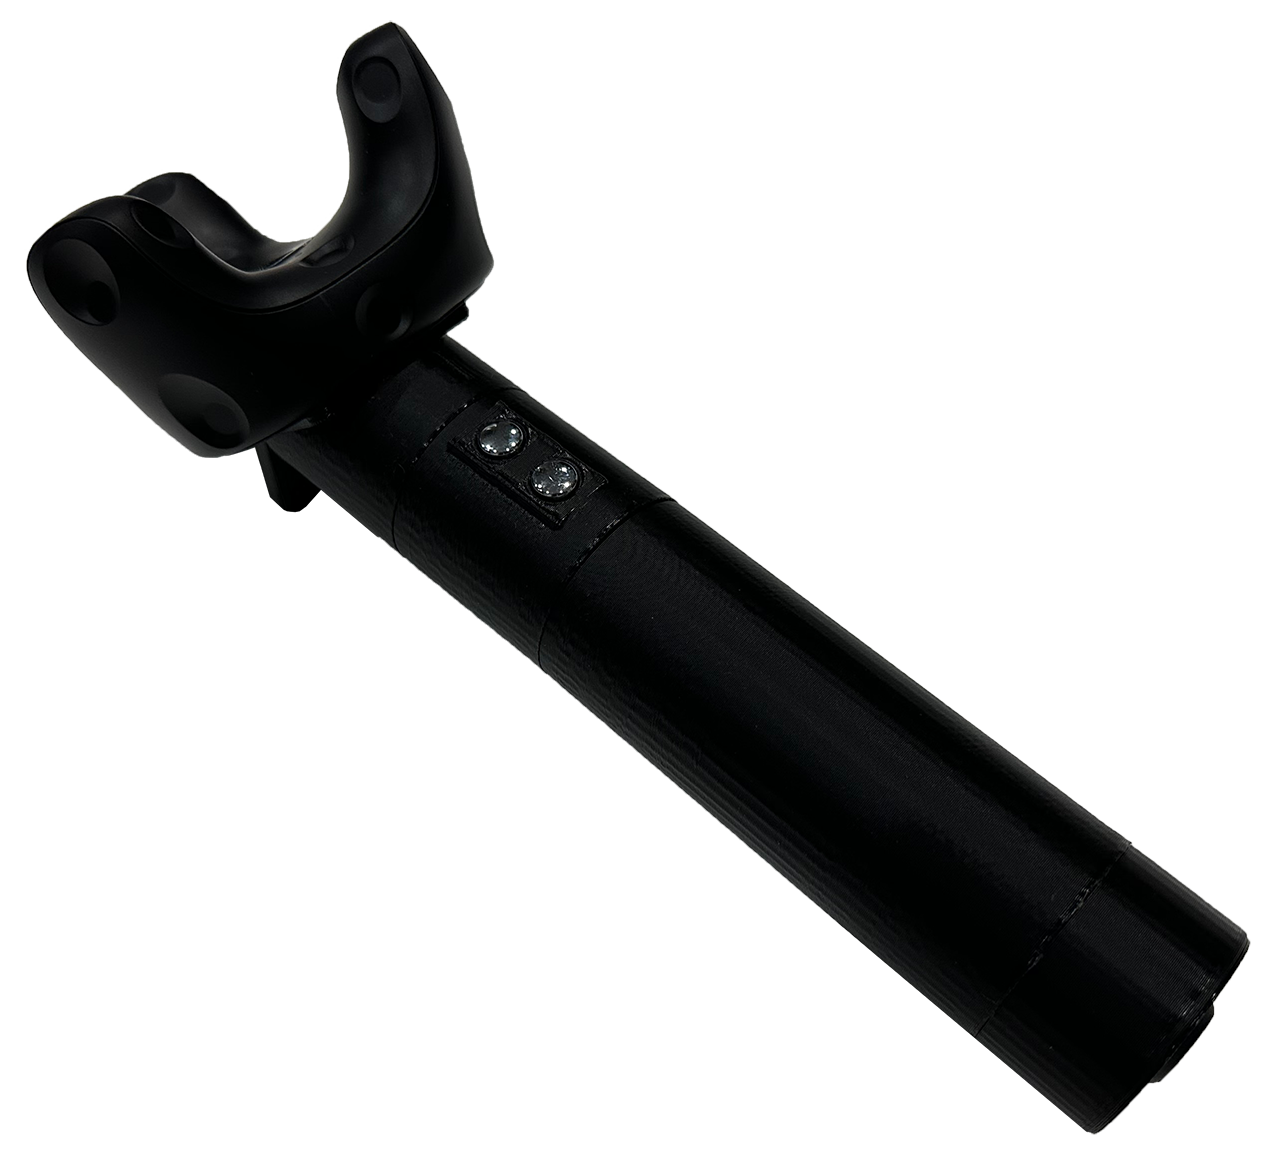
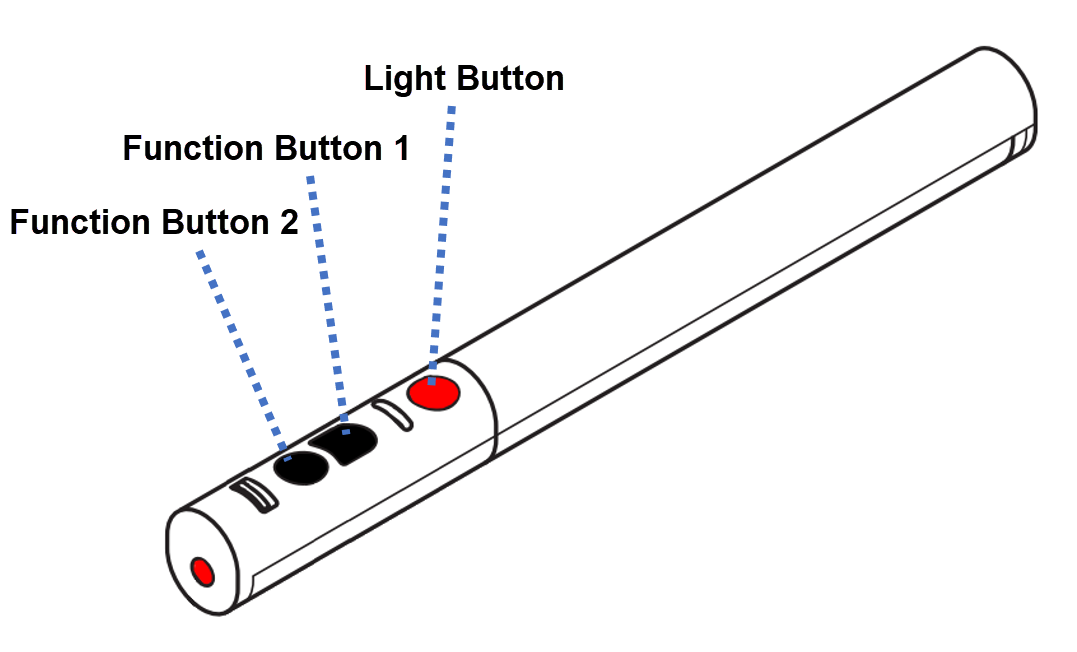
Two Function Buttons
Smart Pointer has two function buttons other than the usual light button. Functions by clicking, dragging, and long pressing are automatically switched according to the current operation mode. You can also rewrite their functions with a script.
Reduce the inconvenience of arrow pointers
Smart Pointer draws an arrow as a digital image, so there is no need to adjust the focus based on where you point on the screen. The brightness and size also remain constant regardless of the distance, and the direction of the arrow shape can be fixed. Using the image stabilization function, you can switch between crisp movements and smoothly moving and stopping movements. Even those who are not used to handling pointers can easily provide stable pointer operation with these assistance.
Maintain Consistent Performance
Real-time content such as digital planetariums and VR often cause frame rate drops depending on the scene. Smart Pointer is running independently on the Amateras Server, separate from the computer running the real-time content. This allows it to behave always smoothly without being affected by the performance of such content. Additionally, the functionality of the Smart Pointer can be upgraded independently of the content, without any negative impact on the performance of the content.

Pointer Mode
This is the most basic mode, which uses arrows, etc. for pointing targets on the screen. You can switch from the traditional pointer and start using Smart Pointer immediately.
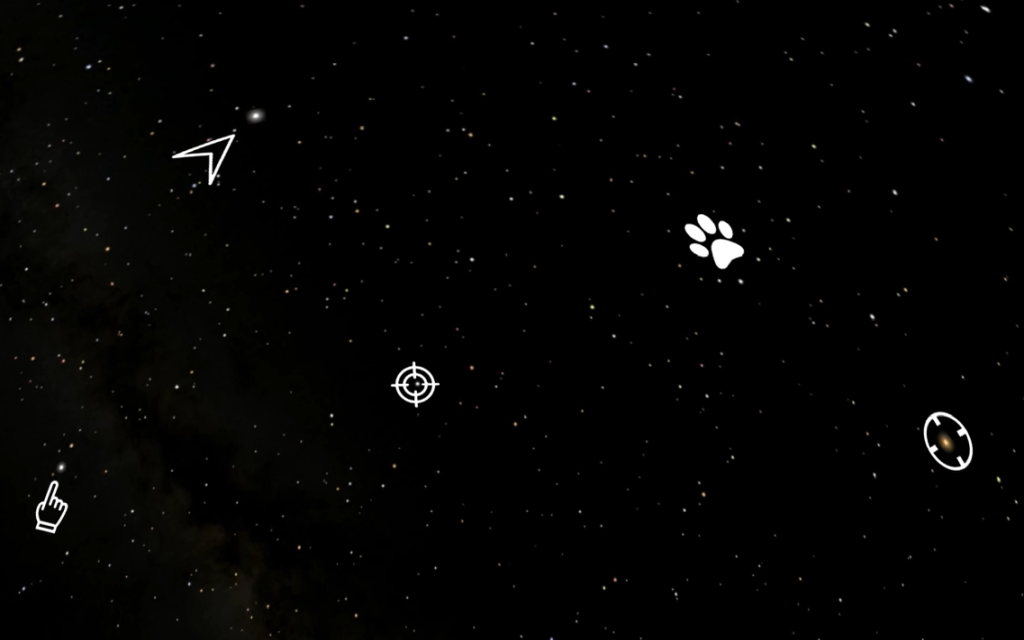
Color and Shape of the Arrow
Smart Pointer draws an arrow as a digital image, so you can prepare images and freely change its colors and shapes. Size, direction, and brightness can be changed at any time as needed, and these changes can be animated. You can also define a pivot point where the center of he displayed image.
Arrow Direction Control
With the Smart Pointer, you can keep the direction of the arrow the same towards the ceiling regardless of how you hold the pointer. In the VR Tracker version of Smart Pointer, you can naturally change the direction of the arrow by twisting it just like a traditional pointer. Also, when you switch to direction-following mode, you can automatically point the arrow in the direction you moved the pointer. It requires some getting used to, but it's convenient when expressing direction and movement regardless of how you hold the pointer.
Copy of the Arrow
In a planetarium with non-tilted dome with circular seating layout, you may display the same slide in multiple directions, such as north and south, or all around, for the audience facing each direction. With the Smart Pointer, you can duplicate the pointer arrow to point the same location of the all slides at the same time.
Powerful Stamp Function
One of the real highlights of the Smart Pointer is the Stamp feature. You can paste an arrow image as a stamp at the pointed place as it is by pressing the function button. Stamps can be pasted over and over again, and they can be peeled off in reverse order with another function button. This is very convenient when explaining the movement of the stars in the sky, etc., and it can be used at any time just by operating the pointer device, without preparing a script in advance. This alone can be said to be worth using the Smart Pointer.
Sticker Mode
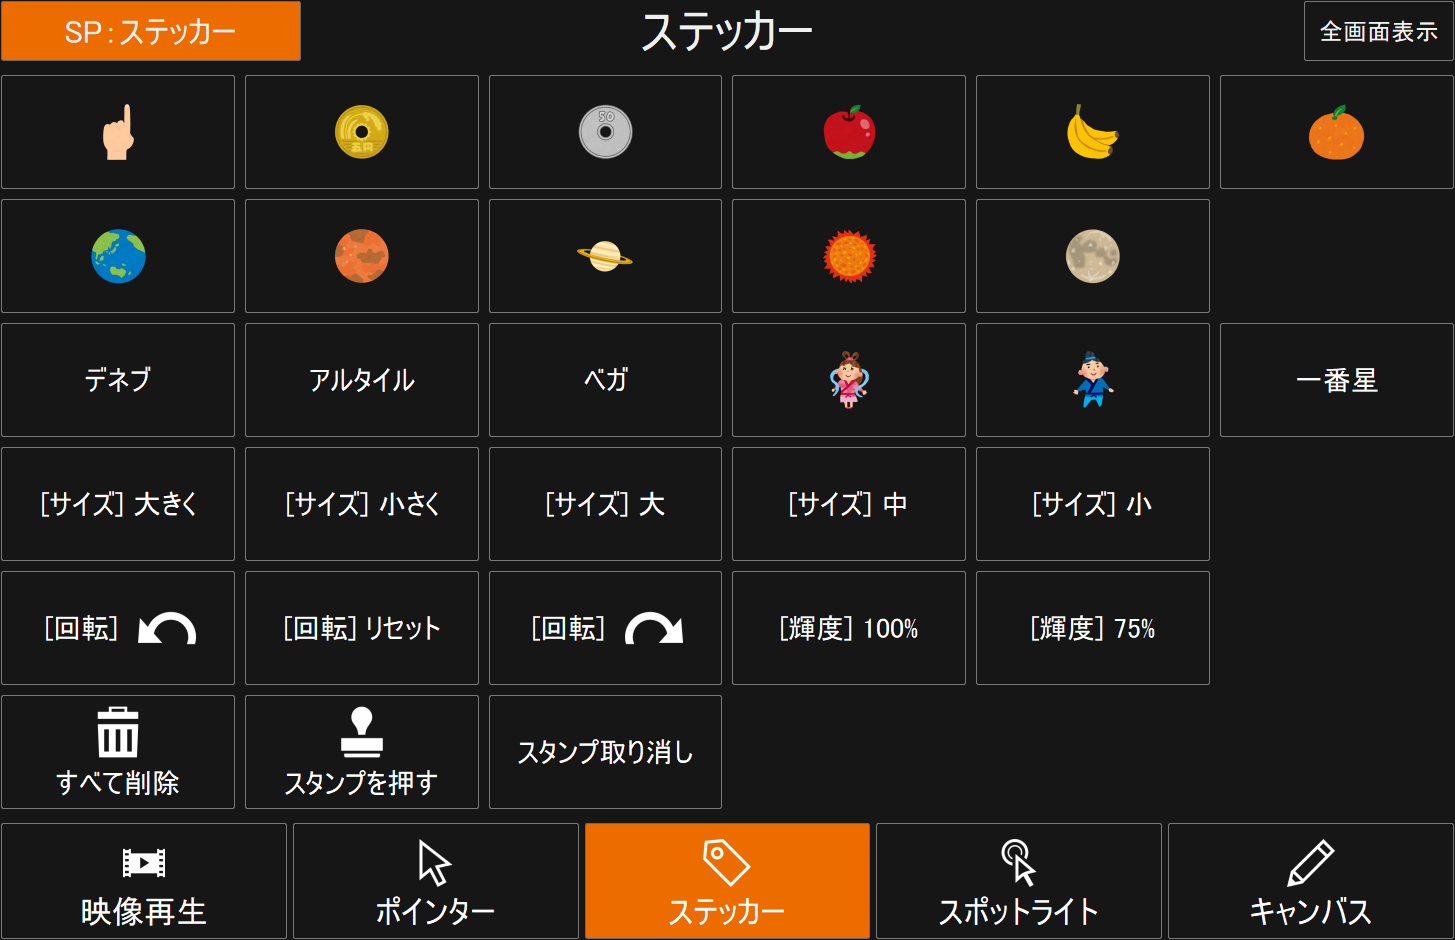
You can display and move any images, labels, etc. with the Smart Pointer. By pasting these images with the stamp function, you can use it interactively like decorating scenes as you like.

Sticker Image Source
Once you prepare any image file, such as illustrations or presentation slides, you can display them anywhere you like with the Smart Pointer and paste them with its stamp function. You can also use videos and external input images as stickers. With alpha channels and chroma key compositing, you can cut out these images into any shape you like and layer them.
Sticker Labels
You can freely move the specified string as a label and paste it at any position with the stamp function. You can naturally put labels while explaining the names of the stars or objects. Labels can be decorated by specifying fonts, colors, borders. It also supports bold, italics, multiple lines with alignment.
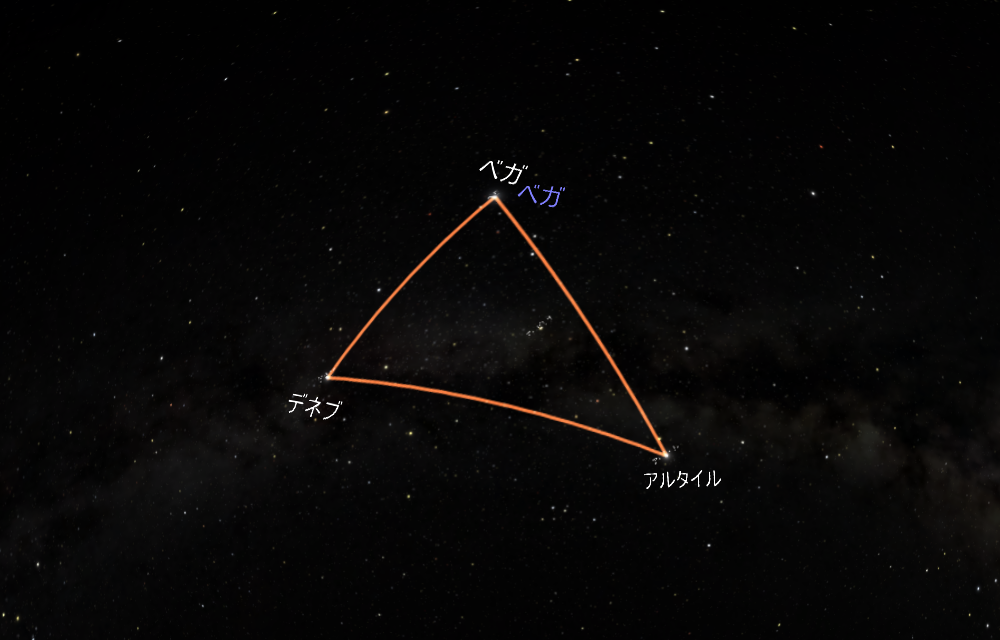
Continuous Animation
You can display image and label stickers with animations such as scaling, rotating, and blinking. It becomes easier to express twinkling stars and comical character behaviors. When you stamp these animated stickers, they remain in place while continuing their animation. Let's try to draw animated scenes with the Smart Pointer.
Flipbook Sticker
You can use multiple images as a flipbook animation for more expressive scenes using stickers. From a few images, you can easily create handmade style expressions. You can create stickers from an Aanimated GIF file with a transparent color. Flipbook animations allow settings such as display intervals for each image, repetition, and iterative repetition.
Flipbook Actor
You can set a "stride" for the flipbook animation in order to make the mascot character move lively with the movement of the pointer. The flipbook animation progresses according to the distance the pointer has moved on the screen, and the left and right animations switch according to the direction moved. It is also possible to display a special one-point animation with sound effects when the pointer's function button is pressed.
Replay-able Scene
You can save overlay images drawn with stickers, etc., to a file for later use. The file is saved with the animation of the stickers and flipbook animation, with each step drawn in order. So if you display it again at a later date, you can erase everything with Undo and display the items one by one interactively. This allows you to easily play panel theater-like talk without writing any scripts.
Spotlight Mode
Unlike traditional pointers that used arrows to indicate position and direction, using Spotlight function allows you to emphasis an area on the screen and indicate it with a circle.
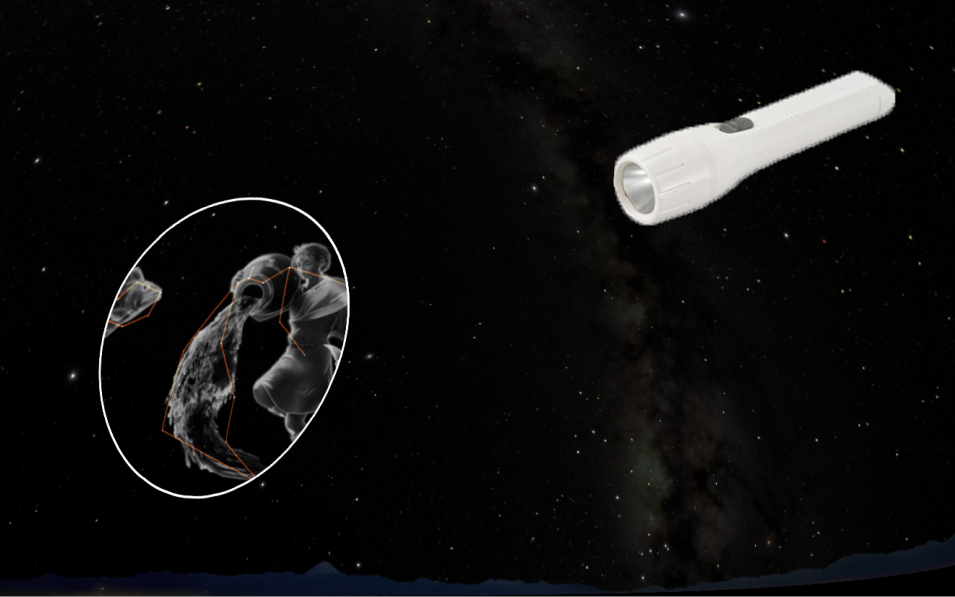
Emphasize a Specific Area
You can emphasize a specific area by drawing a circle at the pointed location and darkening the other areas. You can draw the circle with the specified color and line width. In this Spotlight mode, you can display the circle of the spotlight with the light button, and you can enlarge and reduce the size with the function button.
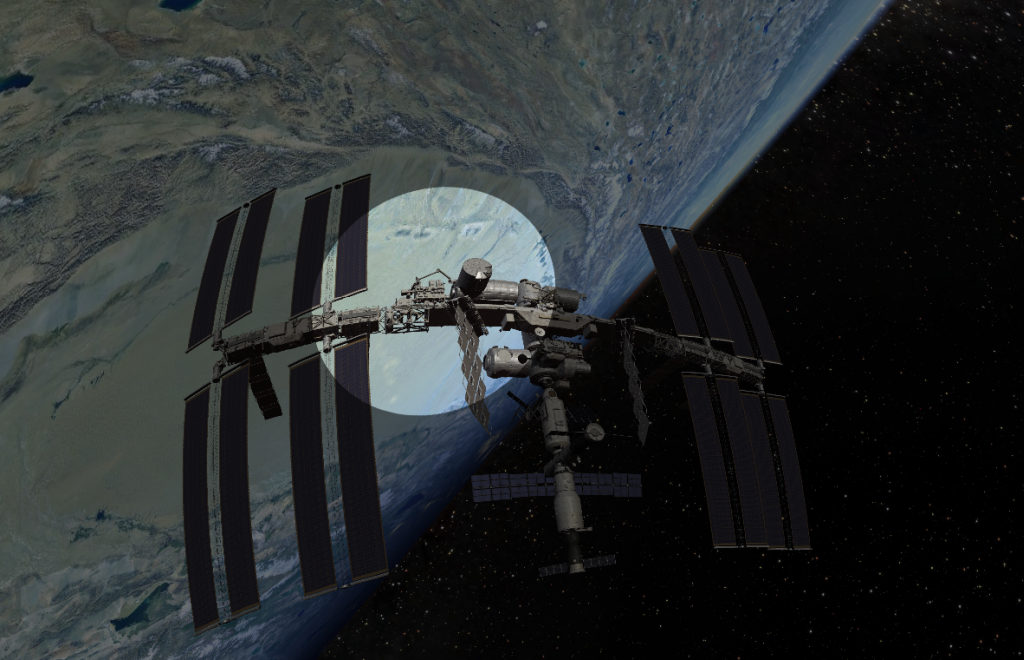
Spotlight Image Replacement
You can display a specified different image within a circle surrounded by the Spotlight mode. In a planetarium talk, you can replace only a part of the visible light of the Milky Way with the Milky Way observed at other wavelengths such as radio waves, X-rays, and so on.
Search for Constellations
When you prepare a full-sky image with constellation lines drawn according to the stars, the constellation lines are drawn only in the places illuminated by the Spotlight. This allows you to intuitively and enjoyably search for constellations. Using a flashlight-type Smart Pointer matches for this experience by children.
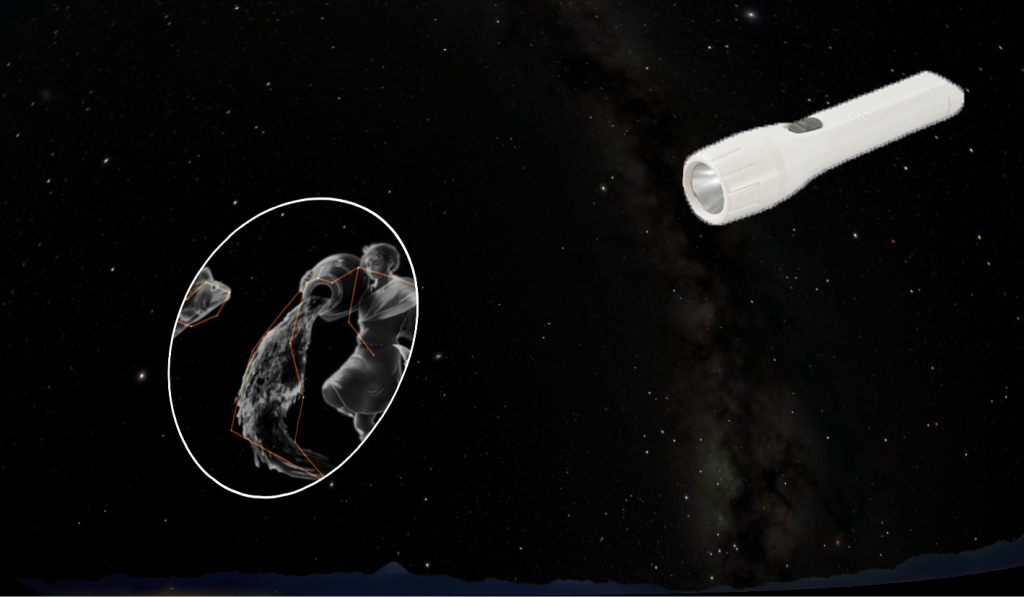
Captured Spotlight Image
You can capture the currently displayed images, such as digital planetariums and dome images, as a replacement image in the Spotlight circle. This makes it easy to prepare for constellation searches using the Spotlight mode. Also, if you capture a maze drawn with the Canvas mode and the treasure chest illustrations pasted with the Sticker mode as a replacement image and then erase all of them, you can enjoy an interactive maze exploration game with the Spotlight mode.
Canvas Mode
With the Smart Pointer, you can draw pictures directly on the screen. It also has convenient features for annotating, such as drawing arrows and dashed lines.
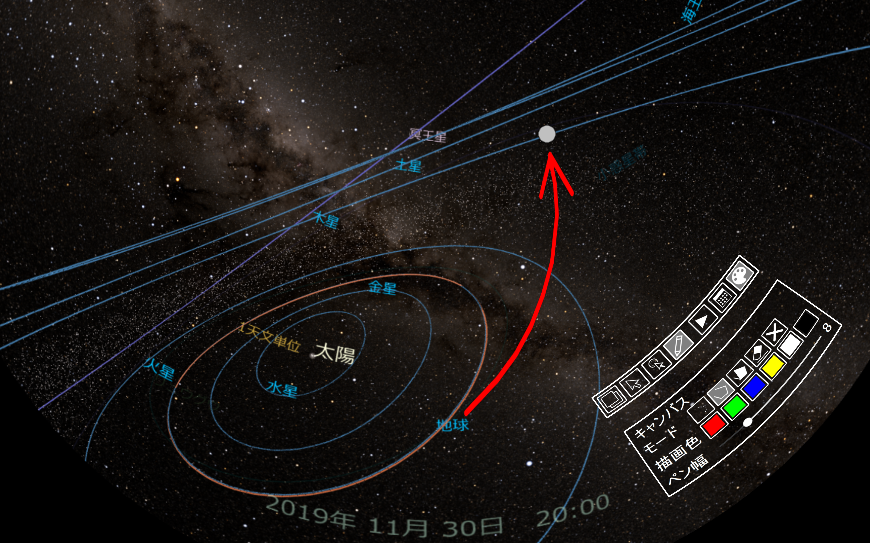
Drawing with Smart Pointer
When you point somewhere on the screen and press the light button, a drawing cursor will be displayed at that location. Then, while pressing the function button, you can freely draw curves, straight lines, polygons, etc. By using the eraser function, you can erase unnecessary parts, and you can also undo with another function button.
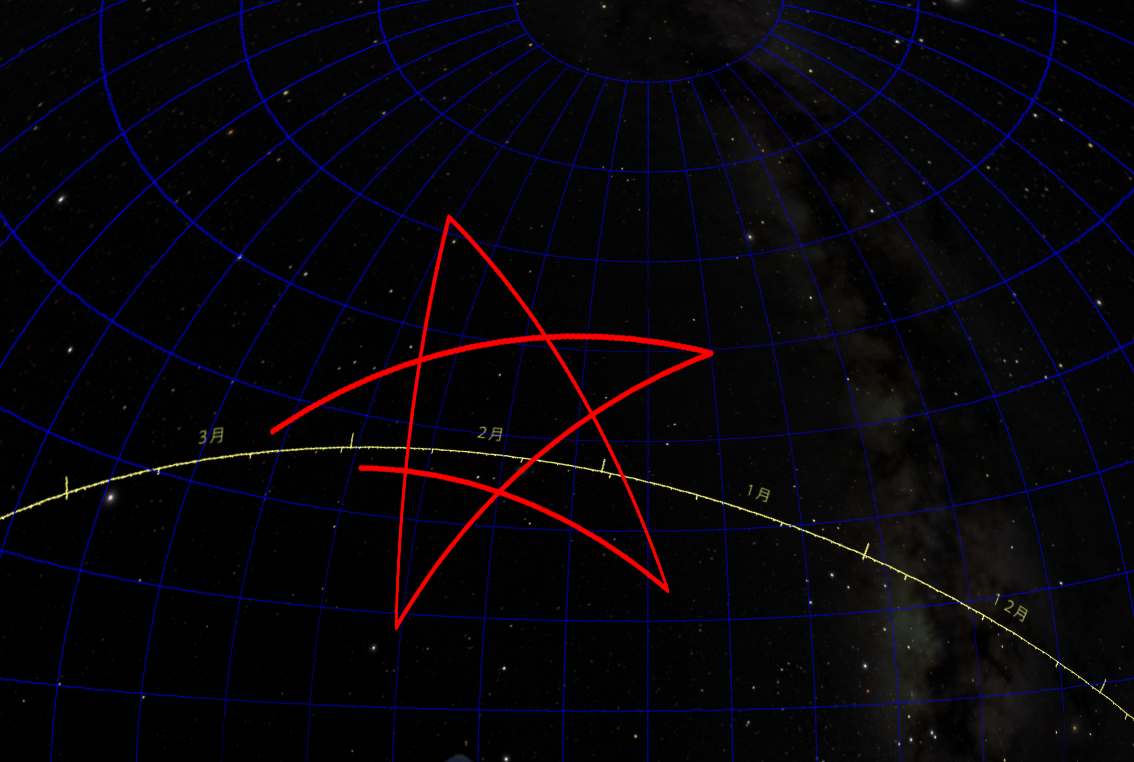
Canvas Palette
You can display Canvas Palette that allows you to set the drawing style, color, and line width when making interactive drawings. With just the Smart Pointer, you can stand anywhere you like and start drawing on the screen.

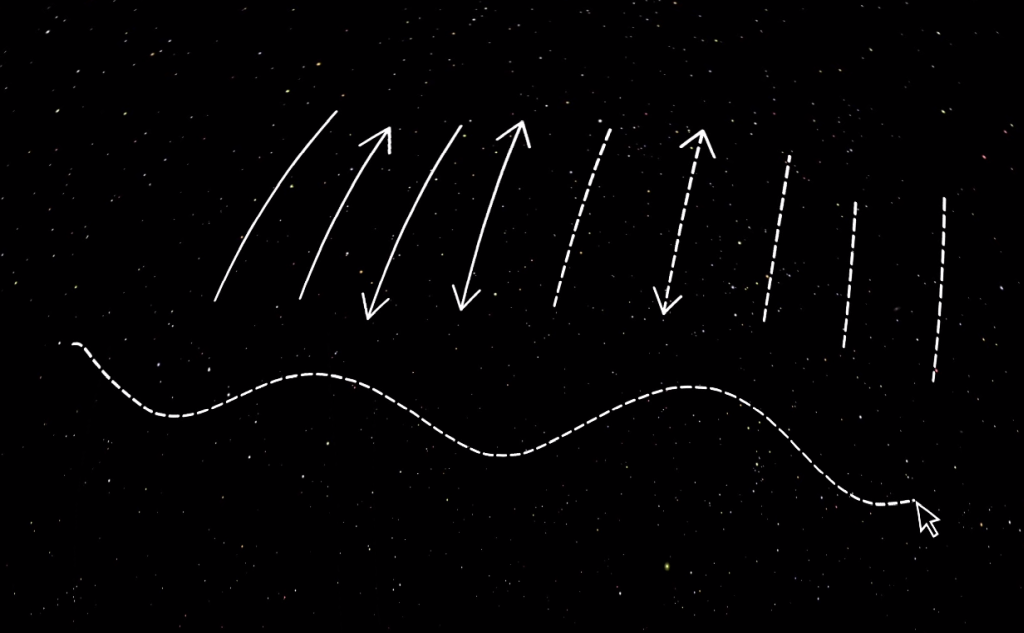
Arrow Lines and Dashed Lines
You can add arrows to the start point, end point, or both ends of a straight line drawn with the Canvas mode. This allows you to easily draw diagrams that indicate vectors or distance. In addition, you can also draw straight lines and curves as dashed lines, and you can animate these dashed patterns in the direction and speed you specify. Since the dashed line animation continues to move even after writing, you can easily draw diagrams that indicate flow or motion.
Undo/Redo per Step
Canvas mode allows you to undo and redo drawings with each stroke. Also, when you save it in a file, it is saved in the order of this drawing along with other sticker imagess and labels. This allows you to undo a well-drawn picture to the beginning state, save it, and later replay it like a drawing song.
Effect Mode
With the Smart Pointer, you can draw particles and special effects interactively. (This feature is still in beta)
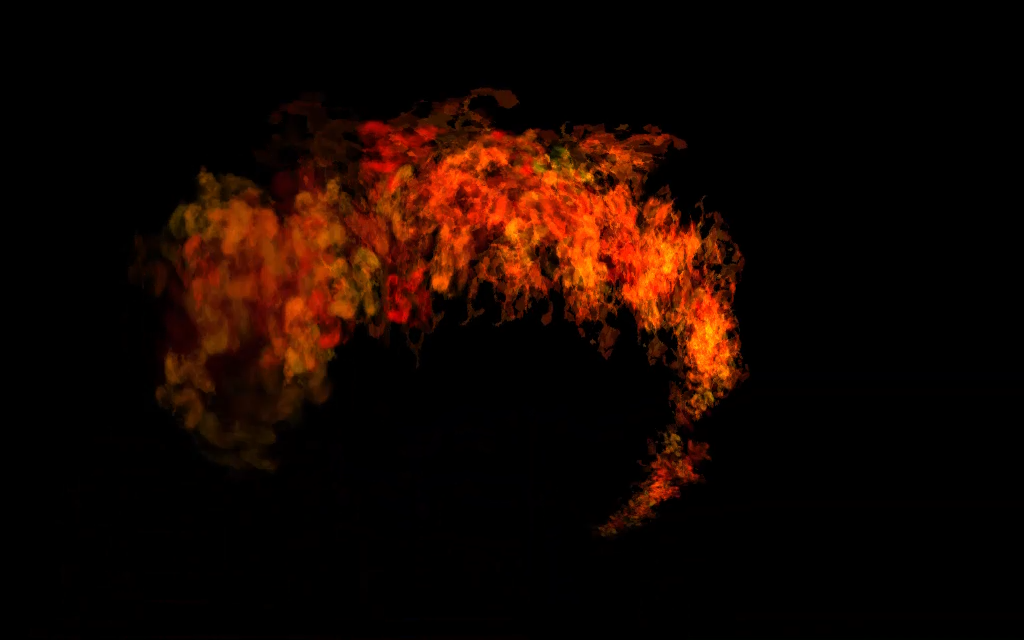
Particle Effects
You can display various particle effects by loading from files which were designed using the open-source particle effect editor tool Effekseer. You can choose an effect by icons in the operation screen, then you can freely scatter the particle effects with the Smart Pointer.
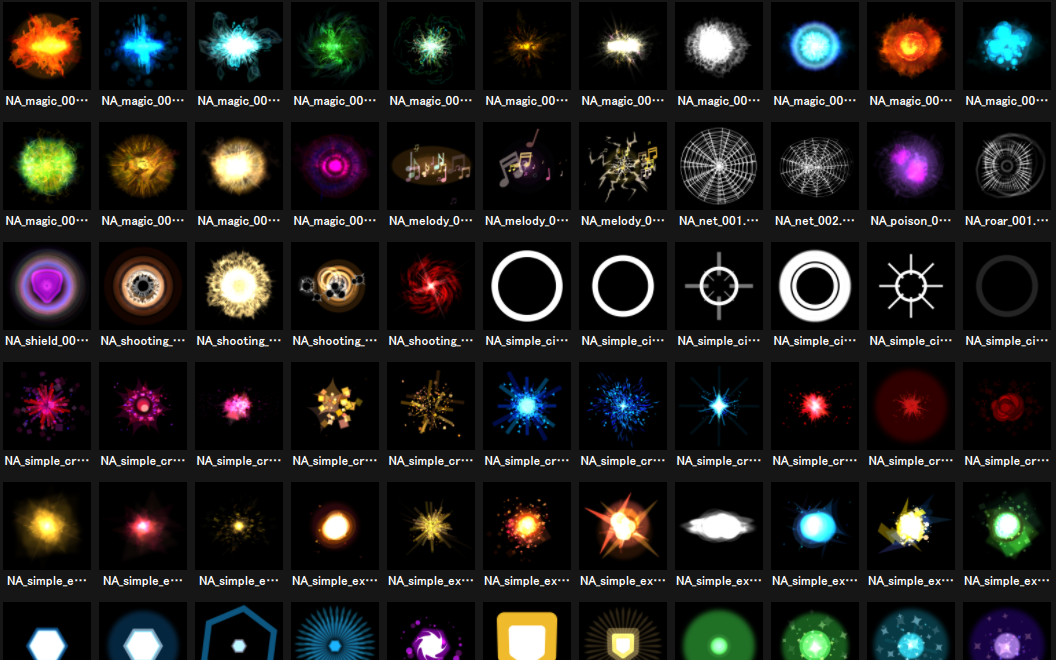
Trail Effect
Trail type particle effects are scattered, leaving a track according to the movement of the Smart Pointer. It can be used for sparkling magic and scattering cherry blossoms.
One-Shot Effect
One-Shot type particle effects will only appear once at the location where the function button is pressed with the Smart Pointer and will disappear immediately. It can be used for flashy animations, markers, explosions, etc.
Scene Effect
Scene type particle effects spread throughout the space regardless of the direction of the Smart Pointer. It can be used for pouring rain or snow, and launching fireworks.
Layout Mode
You can use the Smart Pointer like a mouse to operate the presentation slide layout, control video playback, operate external applications, etc.
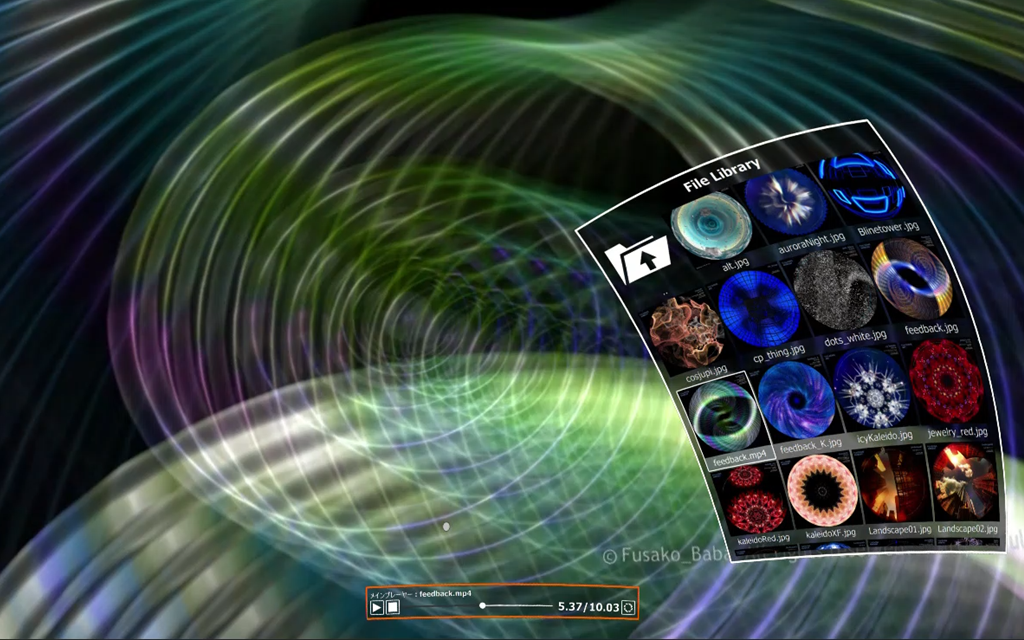
Virtual Mouse by Smart Pointer
In the Layout mode, when you press the light button of the Smart Pointer, a cursor is displayed in the direction you are pointing, and the two function buttons operate as the left and right buttons of the mouse. It also supports dragging and double-clicking operations.
Layout Arrangement of PIP
You can move the PIP (Picture in Picture) images or slides displayed on the screen by dragging the Smart Pointer, or change their size. In presentations at a dome theater, you can effectively use its whole wide screen.
Video Playback Control
You can overlay the File Library for selecting video files and the Playback Control Bar at your preferred location, and interactively play videos by operating them with the Smart Pointer. Of course you can also use the Spotlight mode to indicate areas or draw something with the Canvas mode, which can be conveniently used for video previews and reviews on the screen.
External Application Control
You can send the operation of the Smart Pointer over the network to applications running on other computers. This allows for the creation of interactive content using the Smart Pointer. All the processing of the shape of the screen, the arrangement of projectors/displays, corrections, etc., is done on the Amateras Server side, so the external application only needs to be created as an application for mouse and touch operations to display on a high-resolution single screen.
Operation Screen Options
The modes of the Smart Pointer is switched in the operation screen. Various operation styles are possible, such as integrating with digital planetarium scripts, or using a touch panel while holding the Smart Pointer in one hand.
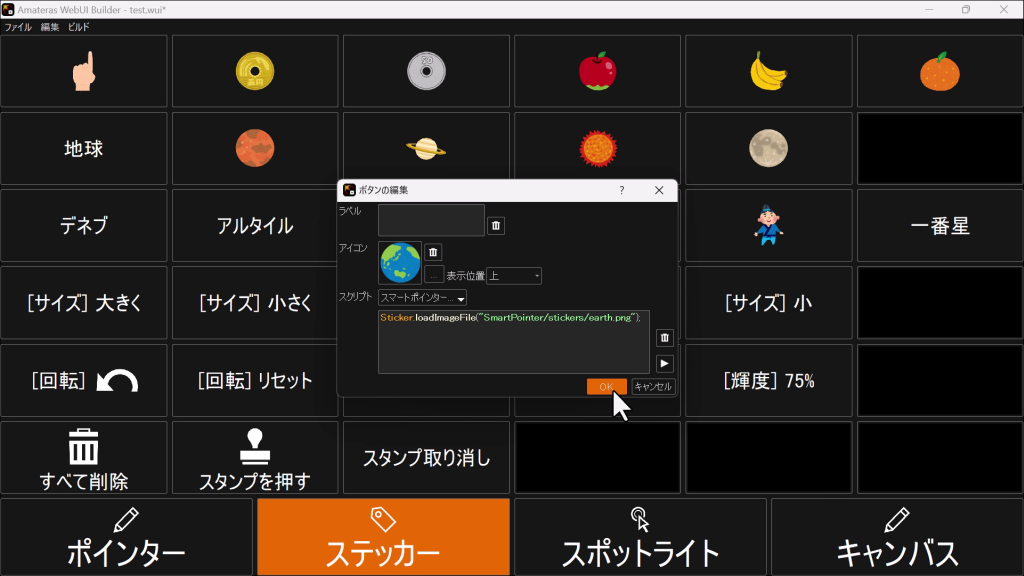
Amateras Panel
Amateras Panel is an editable operation screen application for Amateras Server and Smart Pointer. It is designed to be used on a control desk monitor and mouse, or a portable Windows tablet. You can arrange buttons on the tab according to your favorite operation style and describe the function you want to execute in Java Script. It has a integrated script command refference, so you don't need to look for script commands in the documents. You can use multiple Amateras Panel in several computers/tablets at the same time. File Library for controlling video playback and a temporary content upload tool are useful for rental hall operations.

Cooperation with Digital Planetarium
Through sending commands over the network to the Amateras Server, you can use all the features of the Smart Pointer from any external application. In live planetarium talks, it is common to prepare a series of operations on the digital planetarium's control screen as a script program, and it is possible to naturally incorporate the use of the Smart Pointer into part of it.
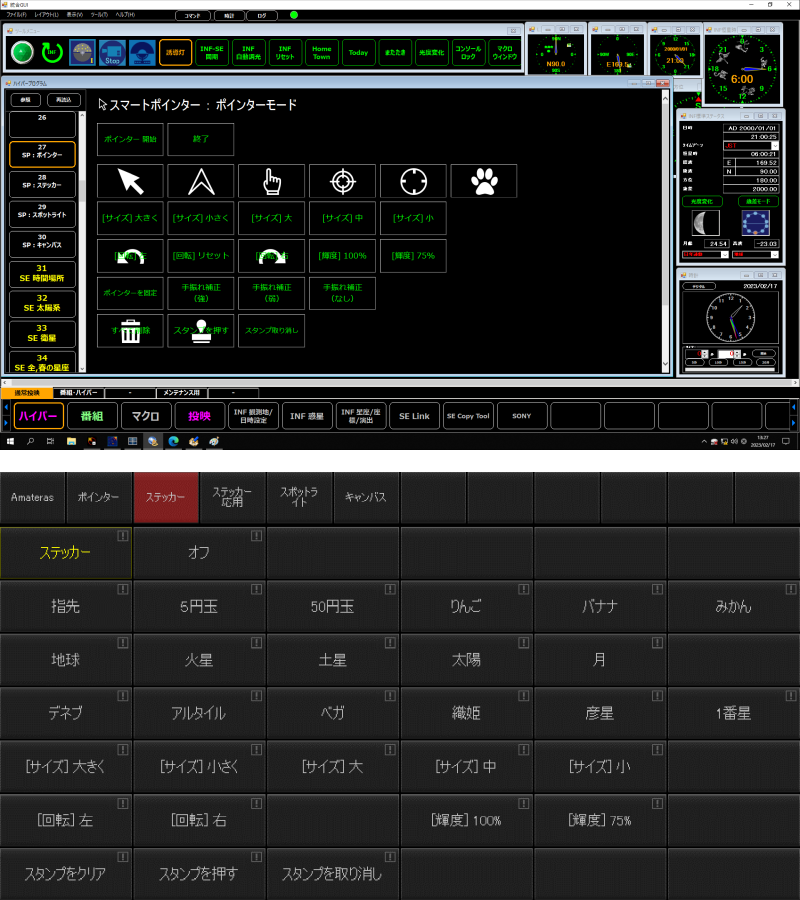
Assistance by Script Helper
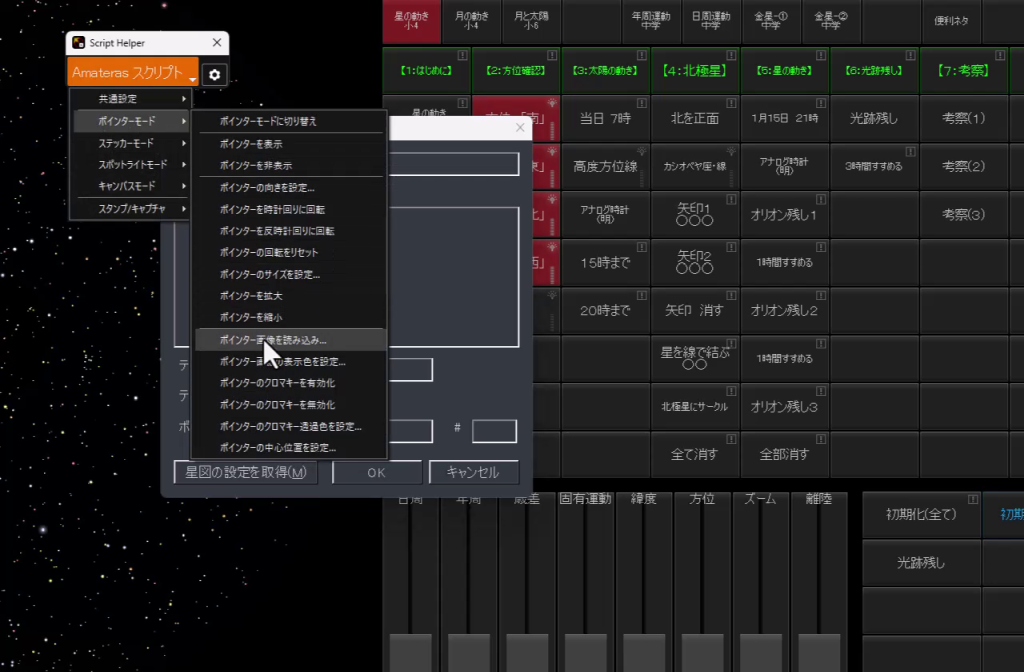
When writing scripts for the operation screen of the digital planetarium, you can use an auxiliary tool called Script Helper to enter script commands for Amateras Server and Smart Pointer easily. You can also select and specify images used for the Smart Pointer from its GUI, so you don't need to enter long file paths or remember script commands.
